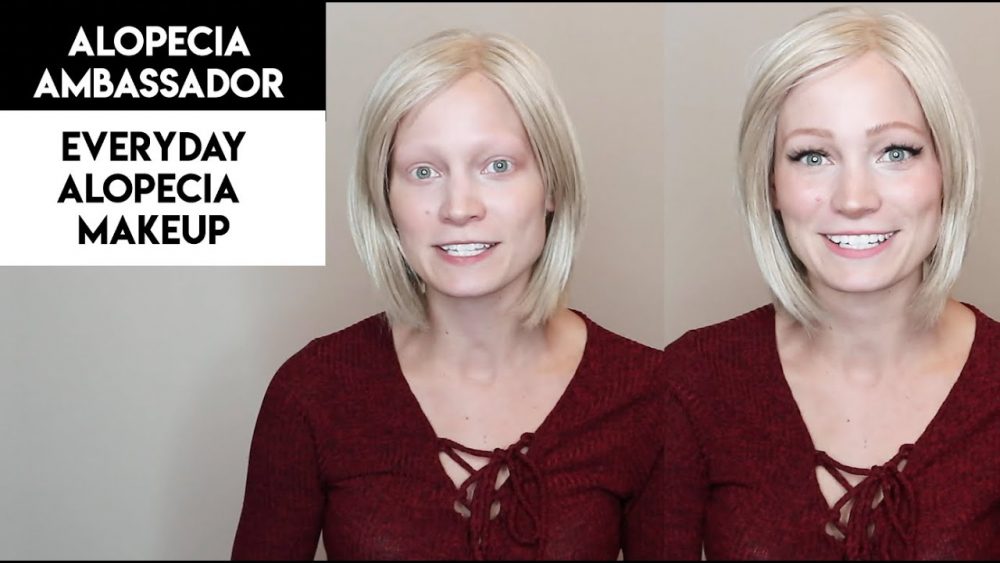
Abby Andrew, our Alopecia Ambassador, has some makeup tutorial tips and tricks relating to hair loss from covering up eyebrows and eyelashes, to basic makeup tips for Alopecia. She is going to share how she achieves her favorite go-to look. If you did lose your brows and lashes to Alopecia, remember that you are beautiful exactly as you are, but these tips are here to enhance your look if you please, but they are by no means necessary.
STEP 1: Create a nice base
Put on the moisturizer of your choice and let that set, then put on concealer. To set the concealer to make sure you have a nice base for the eyeliner and eyebrows, use a translucent powder as this will help the makeup last longer and stay looking fresh.
STEP 2: Create eyebrow placement guidelines
Before drawing your eyebrows, align your brush against your nostril and place a dot above your eye as markers for where your eyebrows should end. Next place the brush on the same spot, but angle it to be aligned with your pupil and make a mark as this will be the highest point of your eyebrow. Lastly, aligning your brush against your nostril one last time, angle the brush at the corner of your eye and make a mark as this will be approximately where your brow will end. Now repeat on the other side to help create a guide for your brow placement.
STEP 3: Draw eyebrows
Using a basic pomade product and an angled brush, drip the brush into the pomade and carefully draw light-handed lines upwards and layer it as you go. As Abby is wearing a brunette wig, she’s drawing more layers for thicker brows, but if she were wearing a blonde wig, she would use more light brush strokes with less layers. If lines are too thick, you can use the spoolie on the back of the brush or your finger to lightly blend the lines.
STEP 4: Draw eyeliner
Using a cat eye liquid liner along your eyelid, draw a liner from where your pupil begins to the edge going upwards to create a “cat eye” appearance. Optional – lightly draw dots across your bottom eye lid to give the appearance of lashes.
STEP 5: Glue Eyelashes
Hold out a false eyelash against eye to see if length fits, and trim any excessive material. Put a tiny dab of eyelash glue on the lash band (less is more), and place eyelash as close to water line as possible. Gently push eyelashes up as they are drying to ensure they do not droop. For easier application, wait until the glue becomes tacky before placing them on your eyelid.
STEP 6: Final Touches
Add blush, basic bronzer, highlighter, and basic lip color to finish it off. Once the remainder of your makeup is done, check final touches of eyebrows to make sure they are even.
To watch Abby apply these techniques, please watch the video below!